How to deploy dbt docs to GitLab Pages
Dbt is a great tool to define the data transformations using SQL. In a nutshell, it's SQL plus Jinja2 templates. It enhances SQL by allowing you to link to dynamic tables, create macros to reuse common parts, add loops, etc.
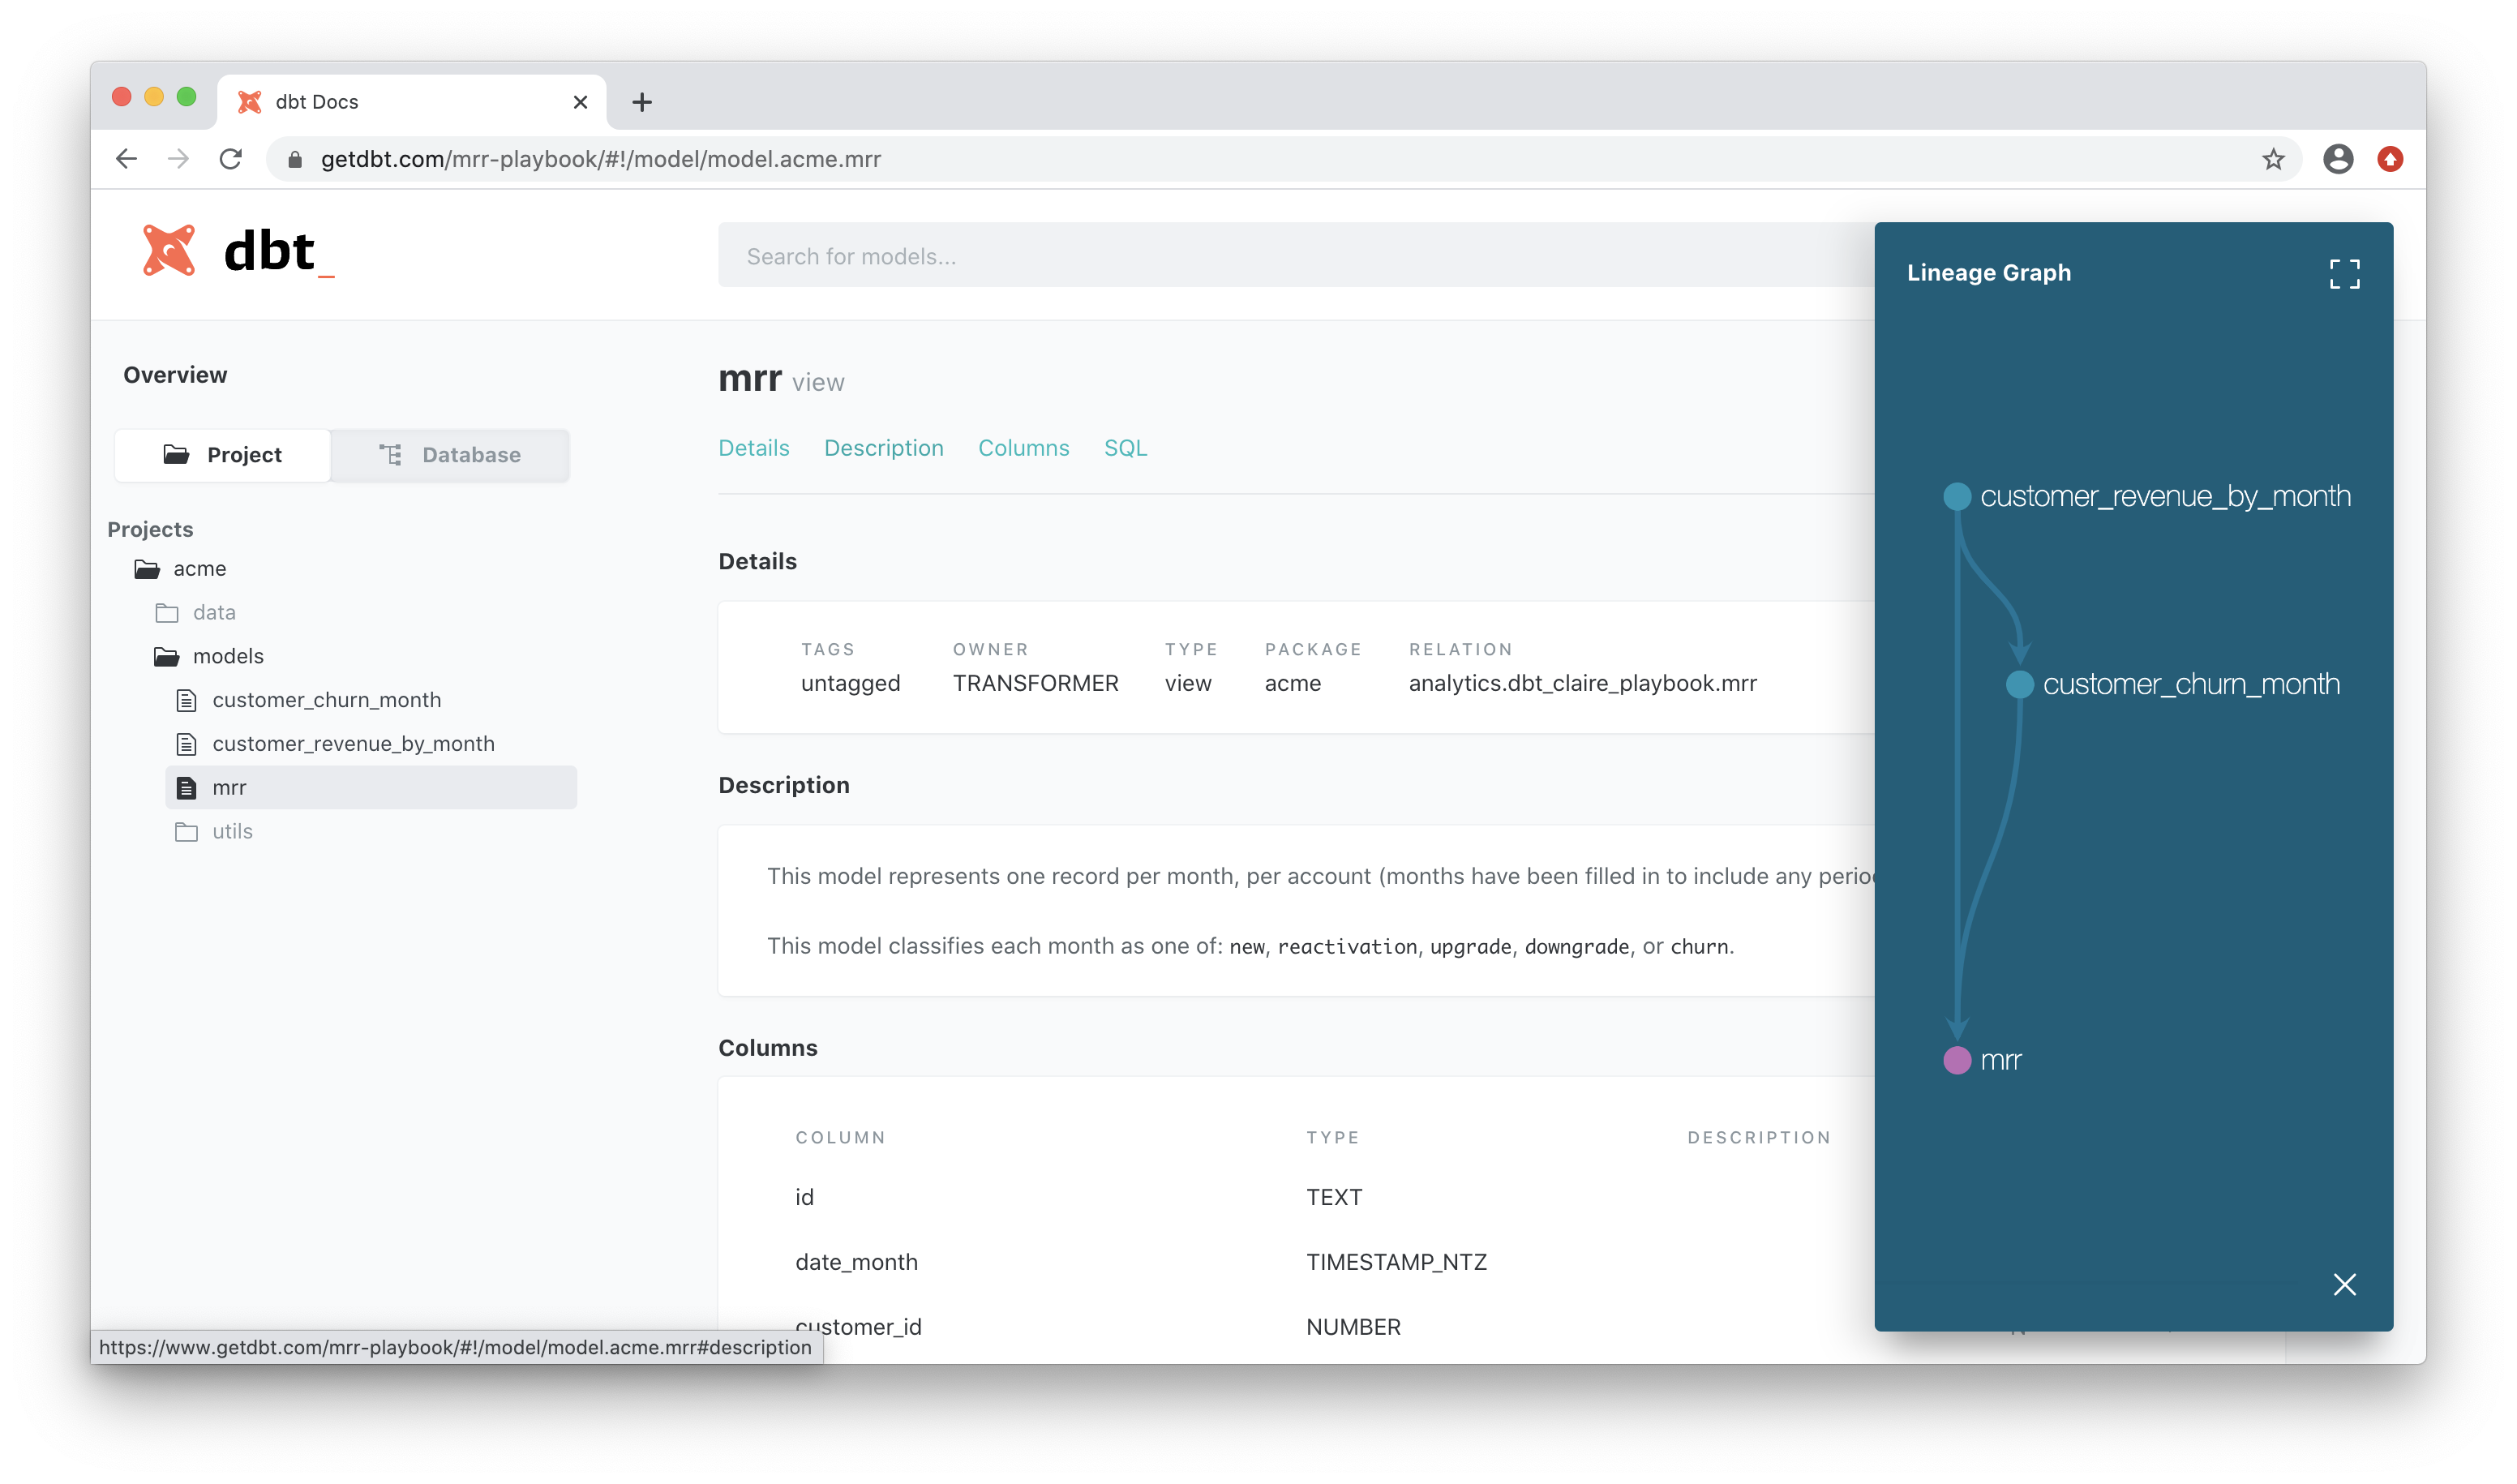
It also allows you to document your tables and add tests using a YAML file, generating a static documentation website describing all tables, their columns, and lineage (i.e., what other tables it uses).

This post will explain how to use GitLab Pages to create and host the dbt documentation web page, updating it every time a new commit arrives. Although the specific commands are different, most of the ideas in this tutorial will also work for GitHub Pages (let me know if you adapt the instructions for GitHub).
Pre-requisites
- GitLab account with your dbt model files
Steps
1. Add your database's credentials as secret GitLab environment variables
Dbt requires access to the database to generate the documentation, so it can calculate the number of rows and size of each table.
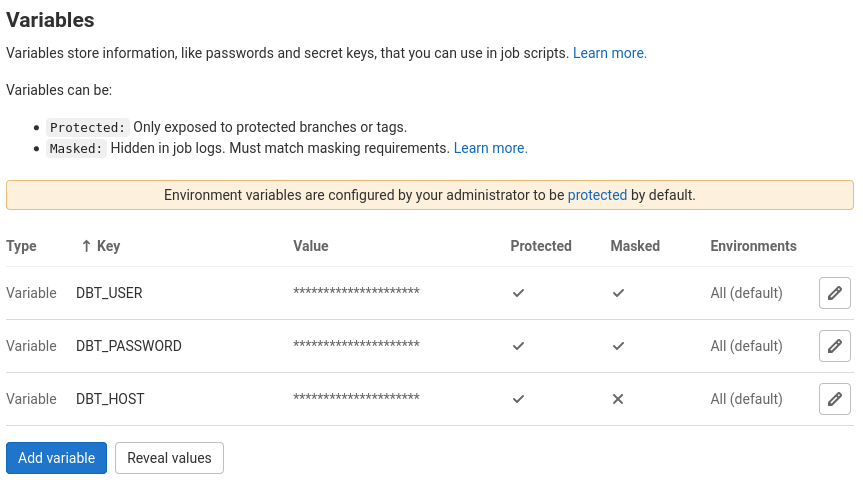
We can add this information as a secret environment variable by going to your GitLab project's Settings, subsection CI/CD. You can find it in the cog icon on the left sidebar of your project's repository page.

Add variables DBT_USER and DBT_PASSWORD with your credentials, and DBT_HOST with the address to your database. Make sure the variables are both "Protected" and "Masked".
Hint! Create a read-only database user to be used by GitLab only.
2. Create a profile.yml file to be used by GitLab
Now that we have the database credentials, we need a profile.yml file to configure dbt to use them. This will change depending on your database type. An example for a Postgres database is:
default:
  outputs:
    default:
      type: postgres
      host: "{{ env_var('DBT_HOST') }}"
      user: "{{ env_var('DBT_USER') }}"
      password: "{{ env_var('DBT_PASSWORD') }}"
      port: 5432
      dbname: my_database
      schema: public
3. Allow inbound connections to your database from GitLab CI (optional)
If your database is accessible from any IP address (it shouldn't), you can skip this step. Otherwise, you need to configure your firewall to allow inbound access from GitLab IP addresses.
Currrently, GitLab's IP ranges are 34.74.90.64/28 and 34.74.226.0/24, but check on https://docs.gitlab.com/ee/user/gitlab_com/#ip-range in case that's changed.
4. Add "pages" deploy step to GitLab CI
On the root folder of your repository, add a .gitlab-ci.yml file with:
pages:
  stage: deploy
  needs: []  # GitLab will generate/deploy dbt docs regardless of other steps in the pipeline.
  only:
    - master

  image: python:3.7

  variables:
    DBT_PROFILES_DIR: "${CI_PROJECT_DIR}"

  script:
    - pip install dbt
    - dbt deps
    - dbt docs generate

  artifacts:
    paths:
      - public
This will add a pages task in the deploy stage that generates and saves the documentation web page into the ./public folder, publishing that as a GitLab artifact. This task doesn't depend on any other tasks (i.e., it will run even if your tests have failed).
This step assumes that your dbt project lives in the root folder of your repository. If that's not the case, check the instructions below.
5. Push and check if the documentation is live
After you commit and push to your repository, your documentation page should be live on https://YOUR_GITLAB_USERNAME.gitlab.io/YOUR_REPOSITORY. Only users that have access to your GitLab repository can access this page.
If the page doesn't exist, check if there are any helpful logs in the GitLab CI pipeline run.
Conclusion
This setup will generate and deploy the dbt documentation after every change. Now that GitLab CI is configured to run dbt, it is straightforward to set it up to deploy your models (just pay attention that you don't use all your pipeline minutes).
I hope you enjoyed the tutorial. If something doesn't work, feel free to contact me @vitorbaptista.
Extra tips
My dbt project lives in a subfolder inside my repository
GitLab only publishes pages in the ./public folder of the repository's root. If your dbt project is not in the root folder, the ./public folder will end up inside dbt's subfolder. You can move it to root by changing the script section on the pages' step in .gitlab-ci.yml with:
pages:
  # ...
  script:
    - pip install dbt
    - cd ${CI_PROJECT_DIR}/my_dbt_folder
    - dbt deps
    - dbt docs generate
    - mv public ${CI_PROJECT_DIR}/public